This document mainly describes how to replace the Y-axis. Replacing the Y-axis involves two main steps:
- Remove the X-axis connectors
- Remove the Y-axis
Please note that all operations in this document should be performed with the printer's power disconnected.
Strictly follow the steps in this document. Additionally, you can watch this
¶ disassembly video for more details: https://www.youtube.com/watch?v=8nJ7fy0Eqvo
¶ 1. Remove the X-axis
¶ 1.1 Remove the Y-axis motor cover plate
Remove all screws from the Y-axis motor cover plate.

¶ 1.2 Remove the eight screws near the screen on the X-axis
Remove all the screws highlighted in the figure below.

¶ 1.3 Remove the X-axis wiring harness
First, remove the zip tie from the X-axis wiring harness:

Then, loosen the three screws holding the wiring harness.

¶ 1.4 Remove the four screws holding the X-axis away from the screen
After removing the wiring harness, gently move the harness to the left to reveal two screws holding the X-axis, as shown below. Loosen them.

Go around to the front of the machine to see another two screws holding the X-axis, as shown in the image below.

¶ 1.5 Disconnect the X and Y limit switch connectors
Note: When unplugging, pinch the plastic connector with both hands to pull it out. Do not pull directly on the wire as it may break.


¶ 1.6 Remove the X-axis
After removing the screws on both sides of the X-axis, use both hands to lift off the X-axis.

Note, after removing the X-axis, there are two dowel pins on the side away from the screen that need to be reinserted during the next installation.

¶ 1.7 Remove the X-axis drag chain sheet metal screws

After removing the sheet metal, lift the X-axis and the sheet metal from the Y-axis moving subassembly housing and place it aside.

¶ 2. Remove the Y-axis
¶ 2.1 Disconnect the Y-axis power lines (U V W)

¶ 2.2 Disconnect the Y-axis encoder cable connector


¶ 2.3 Disconnect the Y-axis power adapter cable connector

¶ 2.4 Inspect the Y-axis limit stop

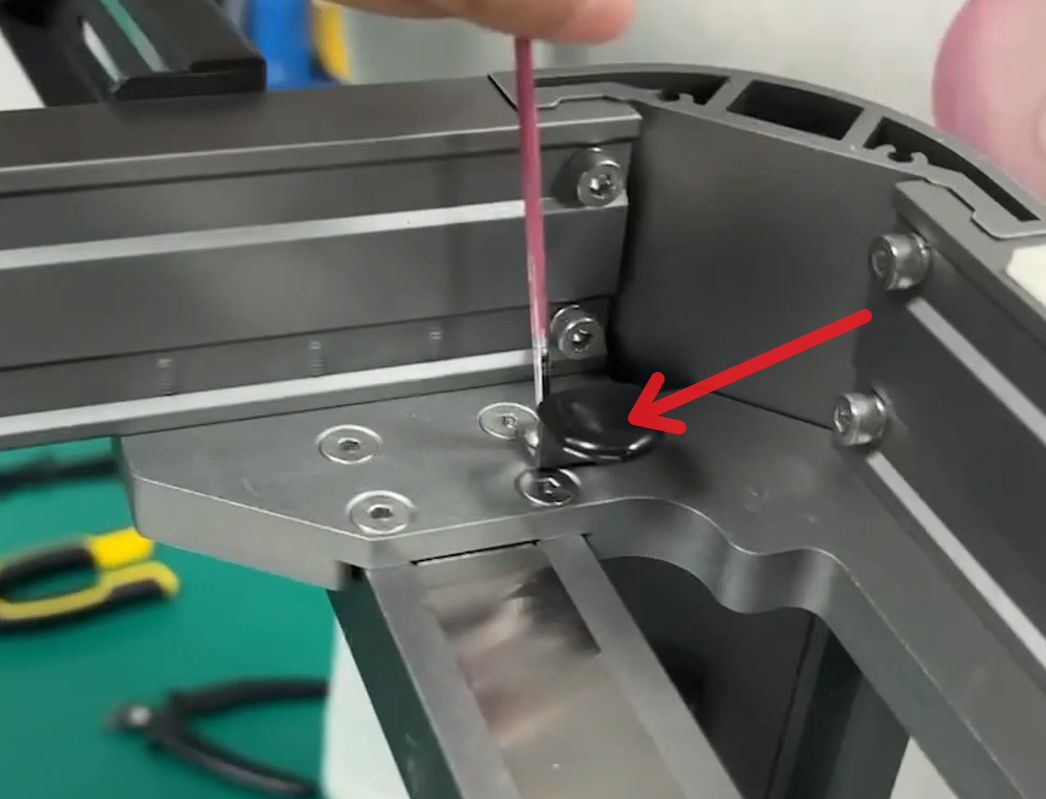
¶ 2.5 Start removing the final fixing screws on both sides of the Y-axis
Remove the fixing screws of the Y-axis. Note, on each side, remove only three screws first and keep one screw to be removed last.

¶ 2.6 Place the X-axis and sheet metal on the heated bed
Refer to the details in the video: https://youtu.be/8nJ7fy0Eqvo?t=136
Place the entire X-axis on the heated bed.

¶ 2.7 Remove the Y-axis
For the final step, refer to the details in this video: https://youtu.be/8nJ7fy0Eqvo?t=150


Hold the Y-axis with one hand and remove the last screw with the other hand.